


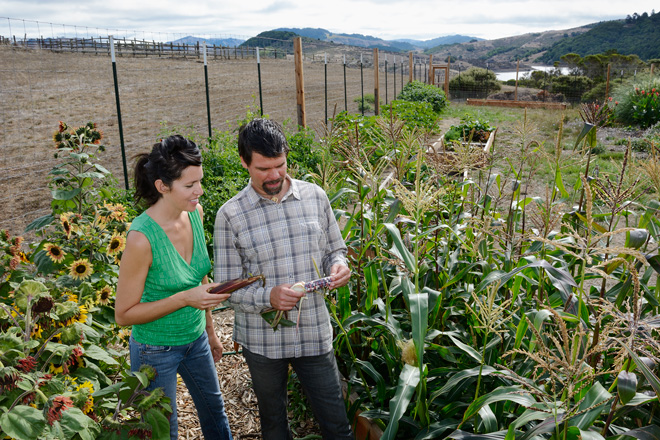
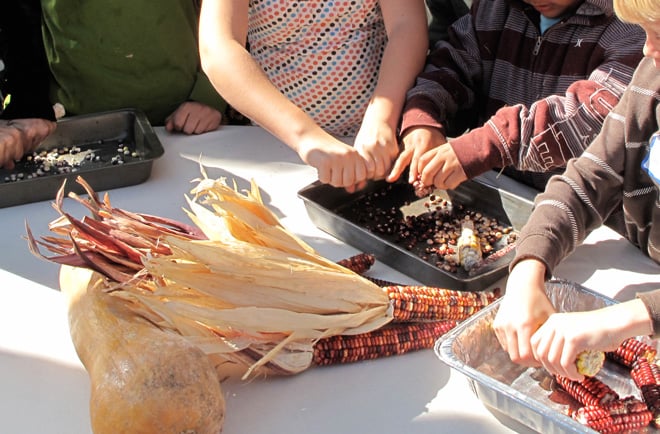
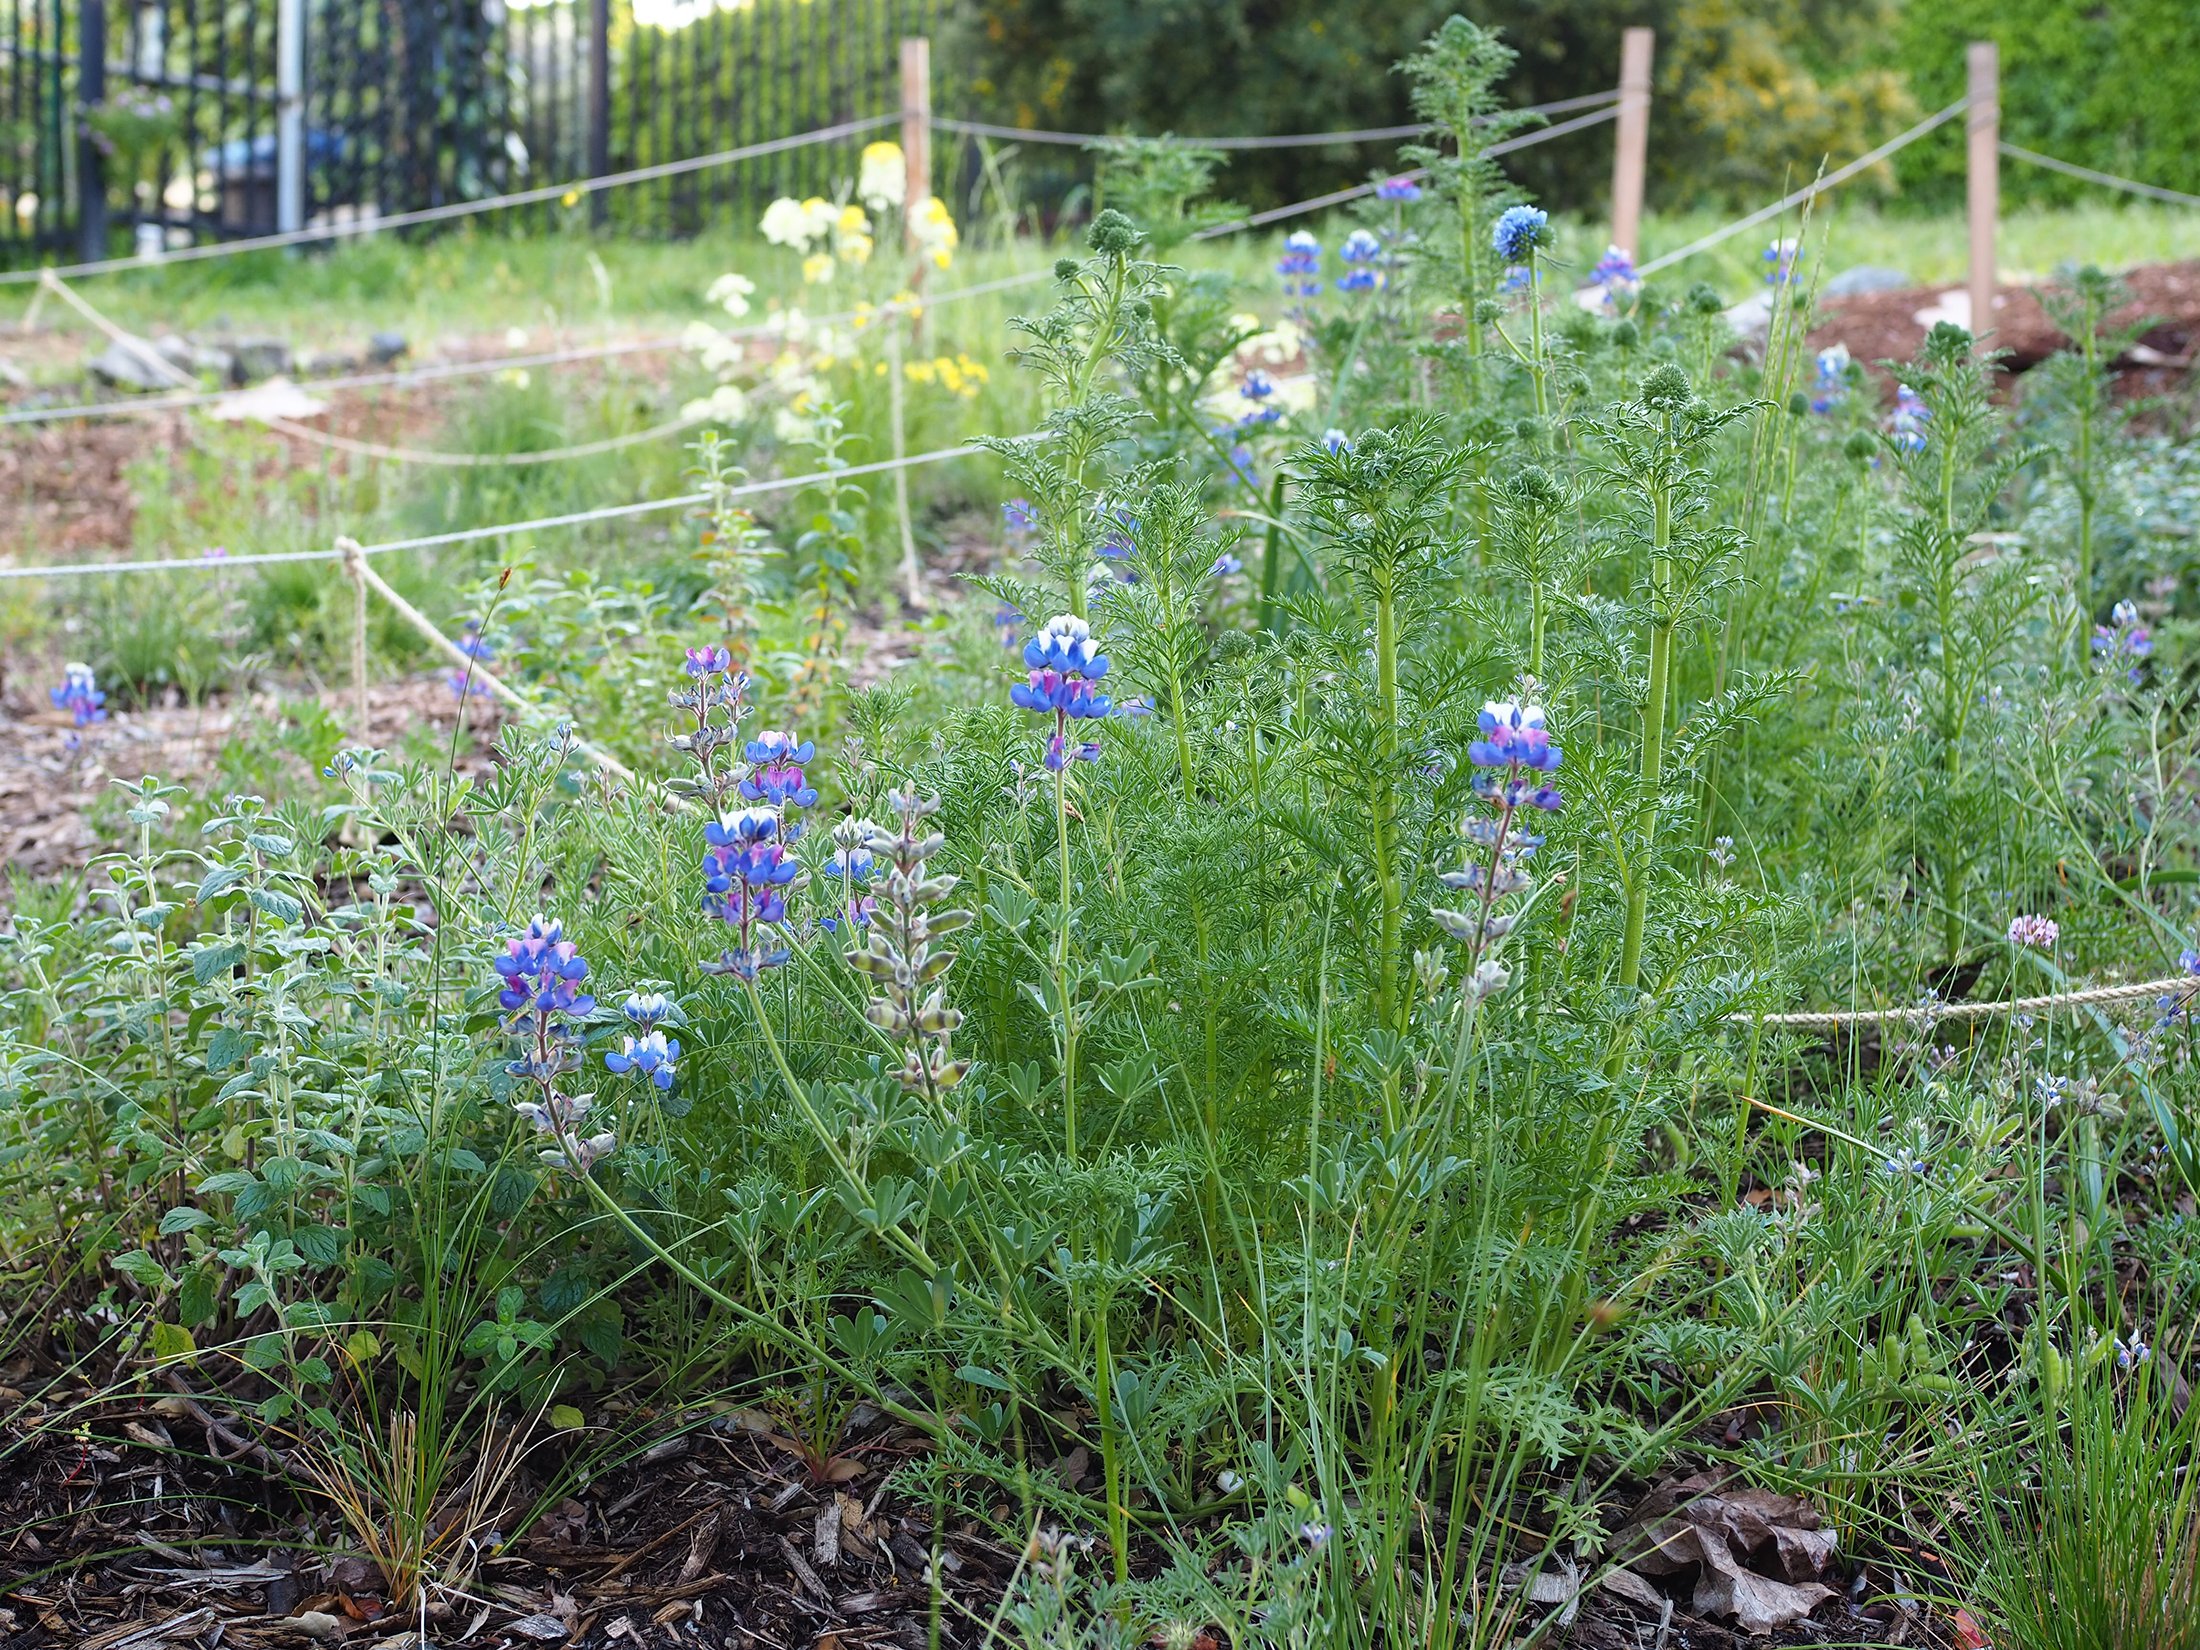
It’s the end of the growing season. Your planning, work, and patience has paid off and it’s time to harvest your seed crop.
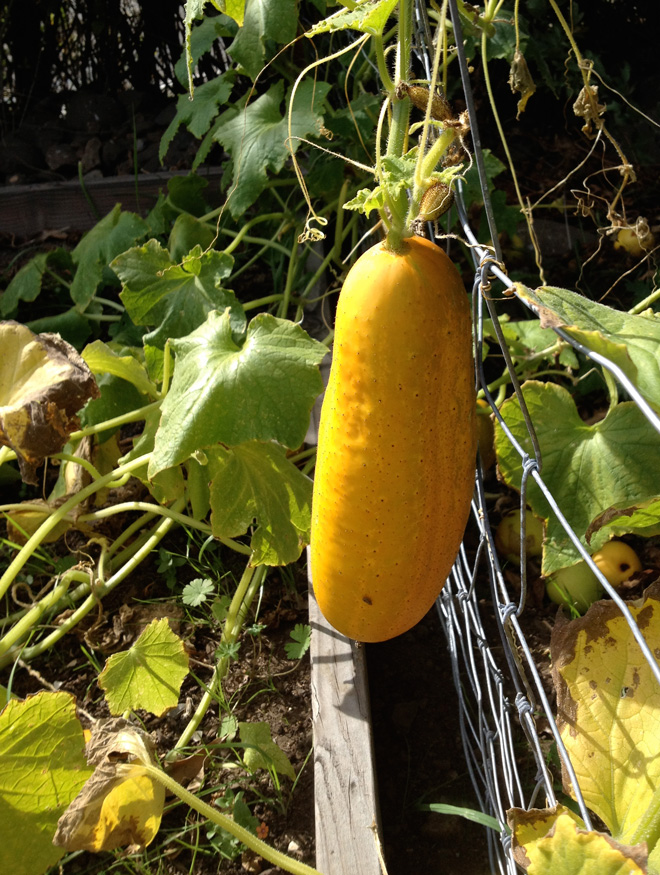
When to harvest crops for seed: Tomatoes are picked when fruit is at prime ripeness. Peppers need to fully ripen to red, purple, or yellow (green peppers are not ripe). Squash should be harvested at full maturity and allowed to cure further in a warm dry place for another few weeks. Cucumbers must mature far beyond the eating stage to a deep golden color. I try to leave them in the field as long as possible while avoiding heavy frost or decay; once the plant has died there is no more energy going into the seed so it’s good to harvest. Corn, beans, and peas need to remain in the field and mature as long as possible. Beet and carrots are biennial and should either be left in the ground to overwinter or harvested, topped, and replanted the following spring. Flowering ensues the following summer and seeds may be harvested once they are fully dried. Watermelons are my favorite seeds to save: sit down with some friends, some watermelon, and eat! Spit seeds on a plate, rinse, and dry.
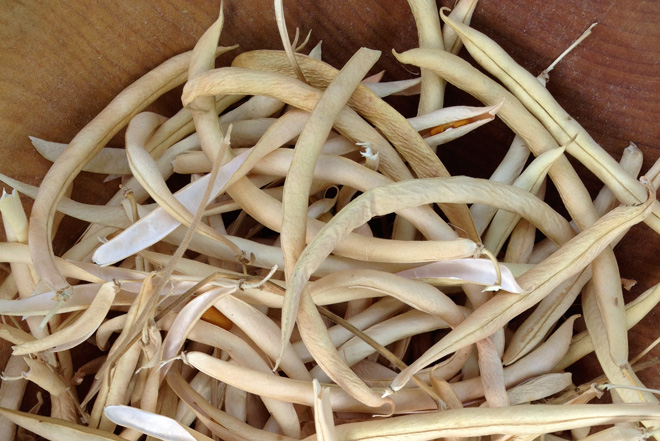
Processing harvested seed: There are two main methods for processing your harvested seeds: dry and wet. As mentioned above, crops like beans, corn, and peas dry on the plant in the field. Carrots, beets, lettuce, and other crops that form dried seedpods after flowering are also best left to mature on the plant as long as the plant—and weather conditions—allow.
Harvest beans and peas by breaking open the dried pod and removing seed. When working with large quantities, put whole, dried pods in an old pillowcase or sack and jump up and down on it to remove seeds. Flailing is another good method for larger quantities. Remove larger chaff, or pod debris, with a pitchfork or by hand. Winnow or sift seed to remove remaining debris.
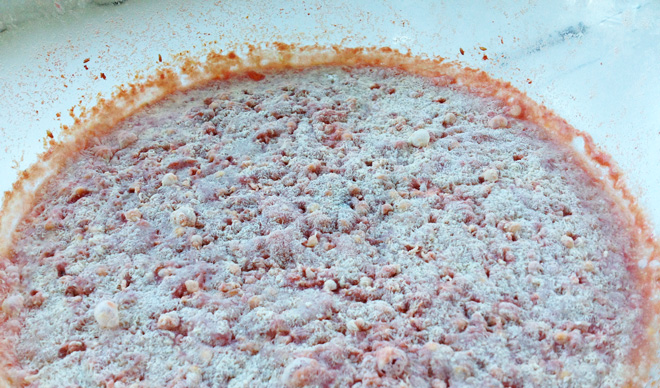
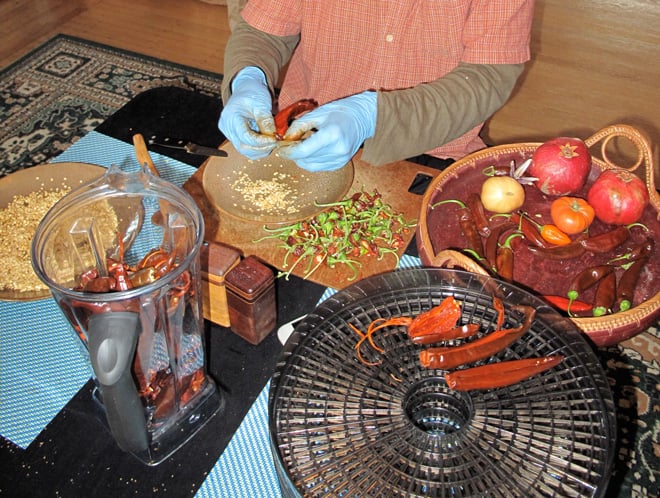
Fruiting crops like tomatoes and cucumbers hold their seeds in a wet gelatinous pulp that must be treated to extract seeds. Place seeds and pulp in a jar or bucket until fermented; a beneficial mold develops that treats seed against certain seed borne disease and also seems to benefit eventual germination. After the mold forms fill the jar with water and pour off floating seeds and debris; the good seeds will sink to the bottom. Repeat until seed is mostly free of debris and remove any left over flesh. Place seeds on a screen or plate to dry. Squash are carefully cut open and seeds are scooped out along with the stringy flesh surrounding them. Clean squash seeds well under running water to remove all squash flesh before drying in a warm, dry place out of direct sun; avoid temperatures over 95 degrees.

Storing saved seed: Larger seeds such as tomatoes, peppers, cucumbers, melons, and squash are finally dry enough to store when you can snap them in half. If they bend keep drying them. Depending on air humidity drying can take 3 to 7 days. If the air is very humid and seed doesn’t seem to be drying fully you can put them in a sealed container with a silica or clay desiccant pack. Give peas, beans, and corn the hammer test! Place seed on a hard surface like a sidewalk and hit it with a hammer. If it shatters into small pieces it’s dry; if just gets mushy it’s not.
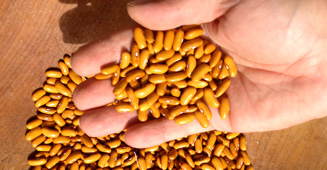
Once seeds are dry they need to be stored it a cool dry place. I often keep seed in glass jars. You can fit many small paper envelopes in a quart jar. Store the jar in a cool closet or even in the refrigerator. If storing in the fridge let jar warm up to room temperate when taking seed out to avoid condensation on the seed. Different types of seed last longer than others. Onion has a relatively short life span while tomatoes can last quite a bit longer. Most seeds, if stored under good conditions, will remain viable for 3 to 10 years. The oldest seed ever sprouted was a date palm from King Herod’s tomb that was carbon dated to be 2,000 years old. The tree is still growing to this day!
Further Resources
Want to delve deep into the world of seeds? Attend Seed School
Recommended reading:
Seed to Seed: Seed Saving and Growing Techniques for Vegetable Gardeners, 2nd Edition, Suzanne Ashworth
Breed Your Own Vegetable Varieties: The Gardener’s and Farmer’s Guide to Plant Breeding and Seed Saving, 2nd Edition, Carol Deppe


January Showers Bring February flowers…
Fall 2022 It may not quite have the same ring to it as the old English proverb, but it has a lot more truth to
Healing Gardens
Spring 2022 Emily Murphy believes gardens hold the key to saving our health, our communities, and our planet. In her new book Grow Now Murphy
Your Keystone Plant Matrix with Garden Futurist Doug Tallamy
Spring 2022 Listen to the full Garden Futurist: Episode XIV podcast here. If you take Keystone plants out of your local food web, the food
A Botanical Force
Listening to Alice Doyle recount the origin stories of Log House Plants’ most popular introductions, educational campaigns, and innovative collections is a great way to
Responses